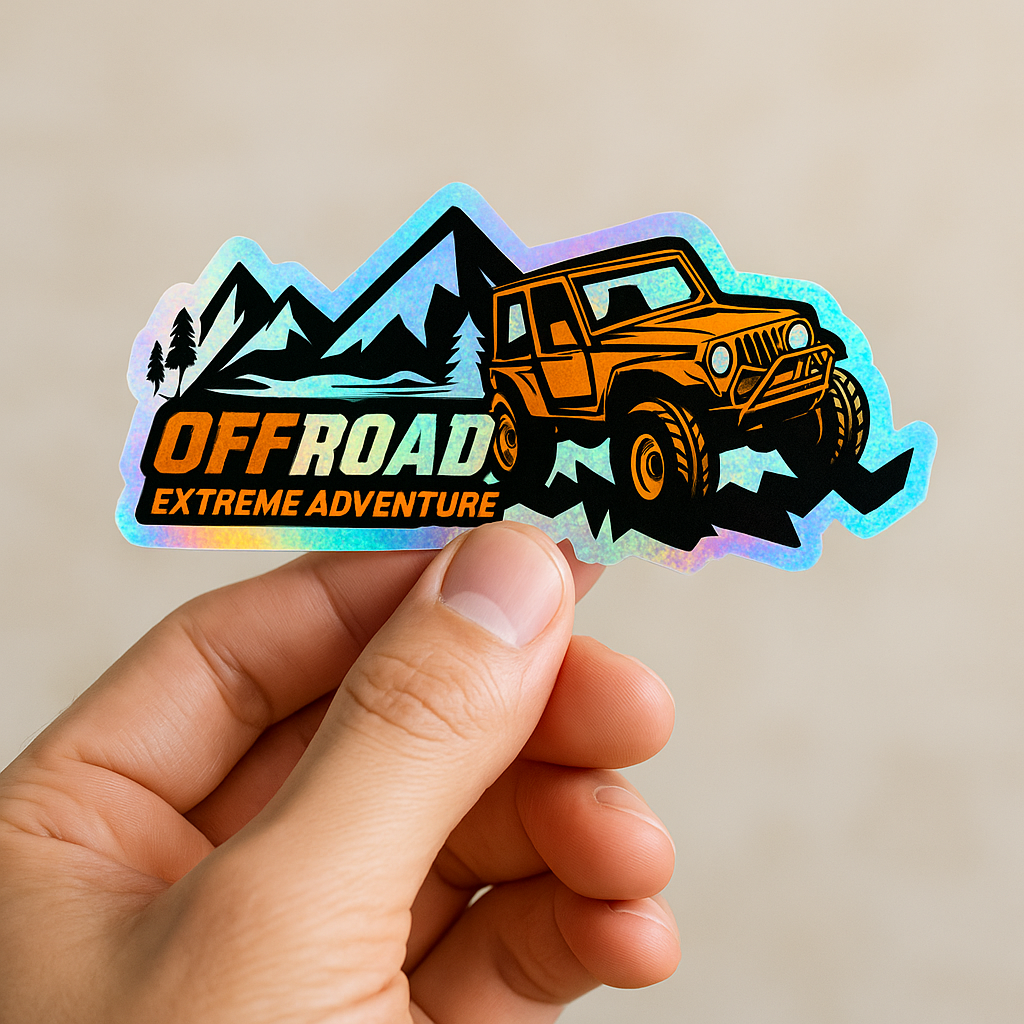
Designing your own die-cut sticker? Here’s how to make sure it turns out perfectly — and performs well in the real world.
1. Use High-Resolution Artwork
Start with 300dpi images or vector files to ensure crisp lines and vivid detail. Pixelated files result in blurry stickers.
2. Keep Text and Key Elements Away from the Edges
Always allow a safety margin around the edge of your design. This prevents key elements from being accidentally trimmed during cutting.
3. Think About the Final Shape
Your sticker’s contour can become part of the message. Consider how the outer shape interacts with your design to create visual flow.
4. Add a White Border (Optional)
Adding a small white outline helps your sticker stand out on dark or textured surfaces.
5. Choose the Right Finish
Stickerine offers both matte and gloss finishes. Matte is ideal for subtle, high-end looks, while gloss provides extra shine and pop.
Need help getting started? Use our easy upload tool on the die-cut sticker product page and get a free proof before printing.


